 Hopefully your crashes don't look like this, but they still happen. Max Ritter photo.
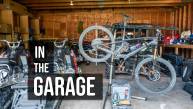
Hey, it happens to everyone. Ride your bike enough, and you’re bound to eat dirt at some point. Most of the time, they’re benign little incidents, but sometimes you hit the ground hard enough to where you might have broken something on your bike: like a brake, a derailleur, or heaven forbid your frame. For this episode of In the Garage, we’re taking a look at how to inspect your bike after a crash to determine if it’s still safe to ride, and I’ll give a few tips on quick trailside fixes for common bike ailments. Remember, if you or your riding partner goes down, always move yourself off the trail to assess the situation and call for help if you need it.
RELATED: TGR Tested - Fox's New Float 38 Enduro Fork
Mountain bikes these days are hardy beasts and can certainly take some abuse. For the most part, today’s carbon frames aren’t going to break into a million pieces after a crash, but it can’t hurt to check everything over. Likewise, things like handlebars, brake levers, or even derailleurs tend to end up out of alignment after you bail, but those can often be easy trailside fixes.
Frame Damage:
If I go down, the first thing I’ll look at is any obvious frame damage. When carbon breaks, it’s usually catastrophic and ends up being visibly cracked. Look around any obvious impact points, particularly around the headtube, or on the rear triangle, which is usually made of thinner carbon tubes and thus more susceptible to damage. I like to run my hand across all the tubing to feel for any cracks (you’ll feel a bump in the paint where there shouldn’t be one, or better yet you’ll feel carbon splinters.)
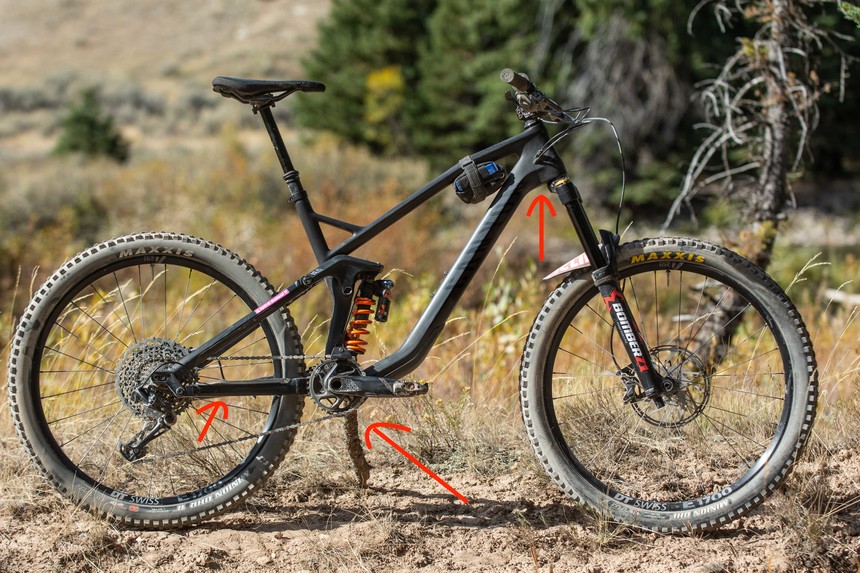 Highlighted are some areas to check for frame damage after a crash. Max Ritter photo.
On an aluminum frame, check to see if anything is bent, and check for cracks in welds, particularly around the headtube junction.
If nothing is immediately obvious, it’s probably safe to continue on your ride normally, but if there’s anything questionable, I’d recommend taking it chill to get back home safely and call your local bike shop or warranty department immediately.
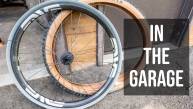
Wheel Damage:
Another common culprit is wheel damage. Hey, we’re all guilty of missing our line through a rock garden or coming up a little short on jumps every now and then, and it’s inevitable that your rear wheel will take the brunt of the damage. I suggest running a tire insert like Cush Core or Schwalbe Pro Core if you’re riding jumps or rocky terrain regularly. If something feels a little funny on the back of your bike, stop riding and take a look. Spin the wheel in the frame to check if it is out of true, and inspect the rim sidewall for any bumps, dents, or cracks.
If the rim is cracked, that’s pretty much a day-ender, as there’s not much you can do to fix a broken rim on the trail, especially if it’s made of carbon. If you dent the sidewall on an alloy rim, it is possible to take vise grip pliers and very carefully bend it back, but it’s not a surefire solution.
Cockpit:
Probably the most common post-crash symptom is misaligned handlebars. I’ve seen far too many folks try to bend them back straight by force, and it drives me nuts. Grab your multi-tool, loosen your stem bolts, and then straighten it. It takes about 30 seconds longer, but you’re not putting undue stress on your fork and handlebars, and you’ll be able to line up it straighter.
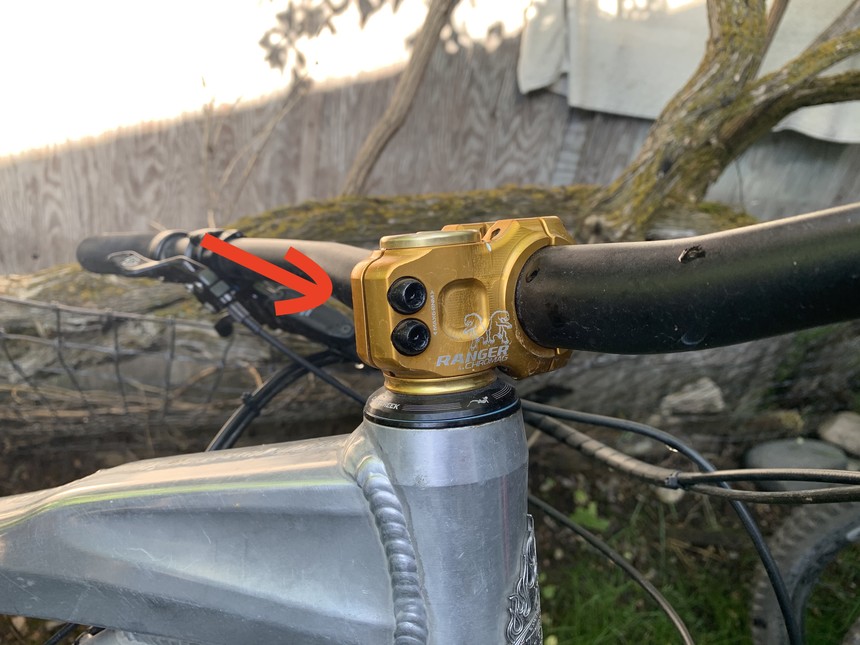 Instead of using force to straighten your handlebars, loosen these two bolts, straighten the bars, then re-tighten. Your bike will thank you. Max Ritter photo.
Secondly, brake levers and shifters often move around, so use that multitool to loosen, align, and re-tighten those too while you’re at it. I like to sight my brake levers from the back to make sure they’re evenly aligned.
Shifting:
A bent derailleur or derailleur hanger is often another byproduct of a crash. Unfortunately, without a derailleur alignment tool (which is not very trail friendly) there’s not much you can do here. If your shifting feels wonky, try adjusting the cable tension up or down using the barrel adjuster on the shifter to get it somewhere workable. If there’s no hope on that front, you can always single-speed it home by turning the derailleur low limit adjuster all the in so you’re not in your hardest gear.
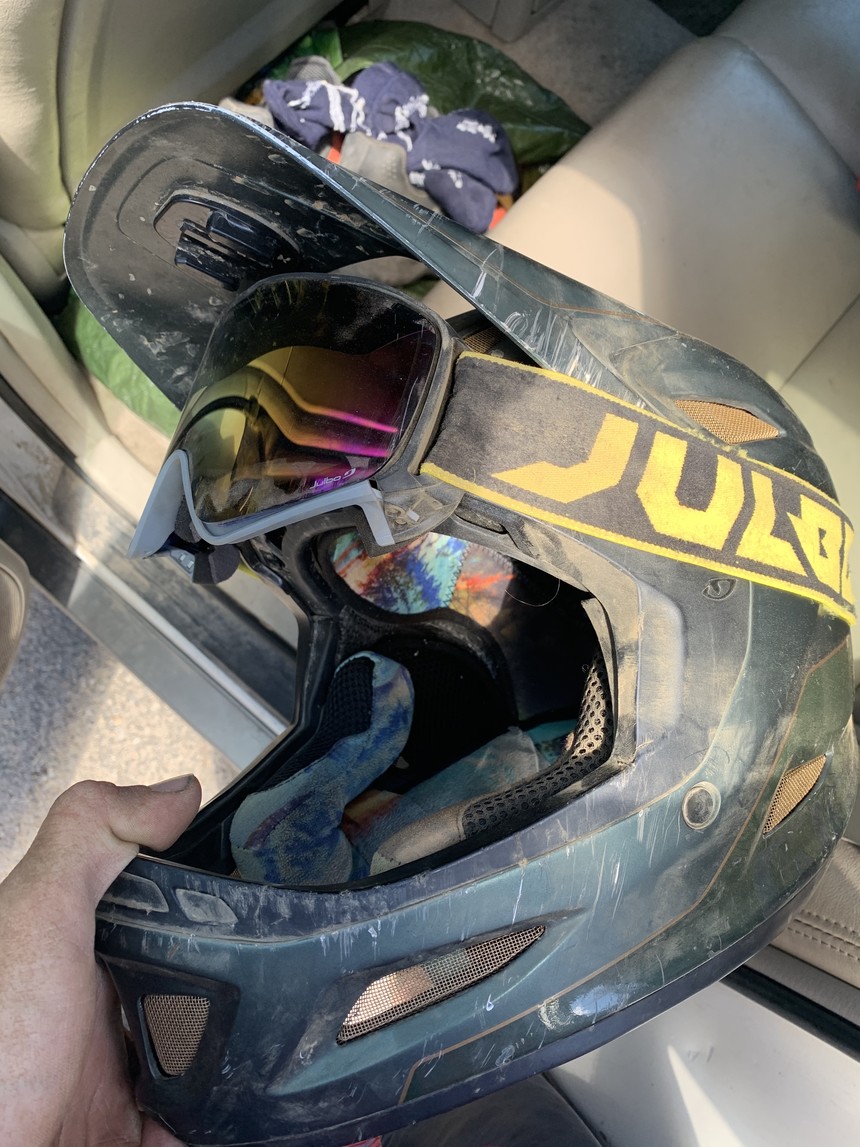 Check your helmet after a big crash, in this case, I went down hard enough to separate the foam from the shell. The helmet was done. Max Ritter photo.
Your Helmet:
I know this doesn't quite count as your bike, but it's a vital part of your kit nonetheless. Check your helmet after each and every crash. If it's cracked or otherwise broken, it's nothing more than an expensive piece of trash. Take it off, look for any deformation, cracks or separation between the liner and shell. If something moves that shouldn't be moving, it means the helmet did its job in protecting you and is ready for the afterlife.
From The Column: In the Garage
In the Garage: 2 Ways To Set Up Tubeless
In the Garage: How To Bleed Your MTB Brakes

In the Garage: Buying Used Bikes
In the Garage: How to Clean Your MTB

In The Garage: Inspecting A Bike After A Crash

In the Garage: What’s In Your Pack?
In the Garage: How to Adjust MTB Shifting
In the Garage: What’s the Deal With Tire…
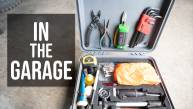
In the Garage Ep. 2 – What’s In the Tool Box?
In the Garage Ep. 1 – Early Season MTB Checkup
About The Author
stash member Max Ritter
I manage digital content here at TGR, run our gear testing program, and am stoked to be living the dream in the Tetons.