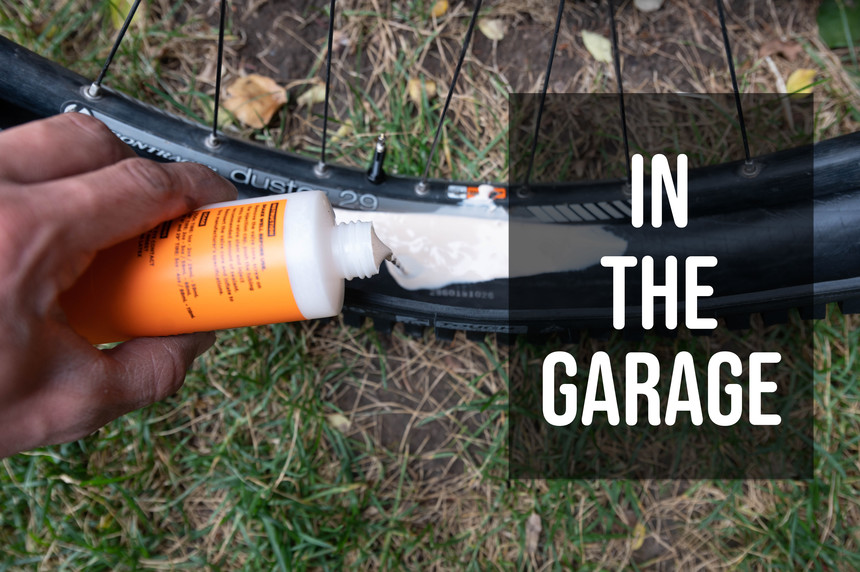
 Setting up tubeless tires shouldn't be a hard process. Here's how to do it. Max Ritter photo.
If you’re not already running tubeless tires on your mountain bike, I’d suggest making that upgrade right now. It comes with a host of benefits: the ability to run lower pressures, get more traction, self-seal small holes, and virtually eliminate pinch flats. Sure, a few years ago, setting up a tubeless system was a huge pain in the rear, but these days, it’s a matter of seating the tire, putting in a few ounces of sealant, and inflating it to whatever pressure you want to run. For this episode of the In the Garage, I’ll walk you through 2 easy ways to set up tubeless tires on your mountain bike. You’ll need a roll of tubeless tape, a bottle of tubeless sealant (I’m a big fan of Orange Seal, particularly the Endurance formula), a valve core tool, a tire pump, and a pair of strong hands.
Method 1
The first method tends to work best on tires that are brand new and have never been mounted on a rim before.
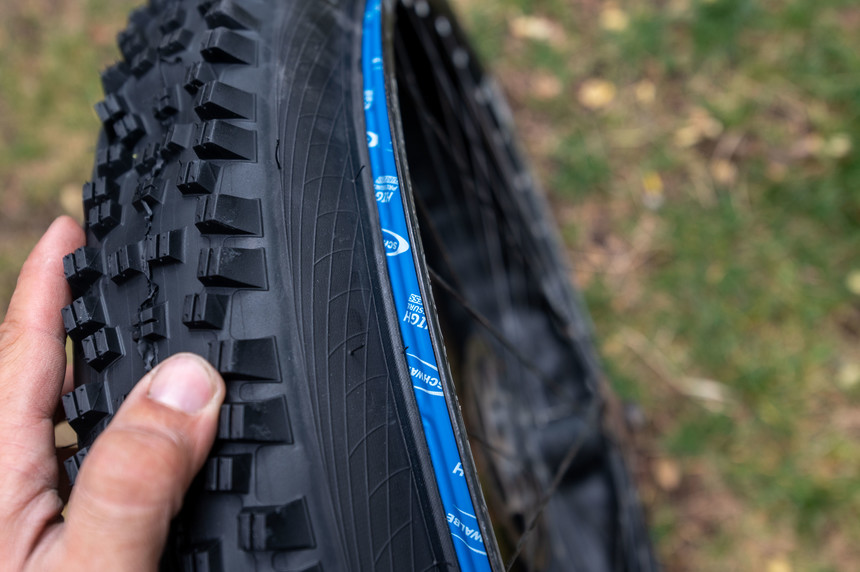
Tape The Rim - Using tubeless tape (please don't try to use duct tape), tape the inside of your rim. It helps to keep the tape taught as you pull it around the rim so it settles nicely into the rim bead. I go around the rim once, overlapping a few inches at the valve hole.
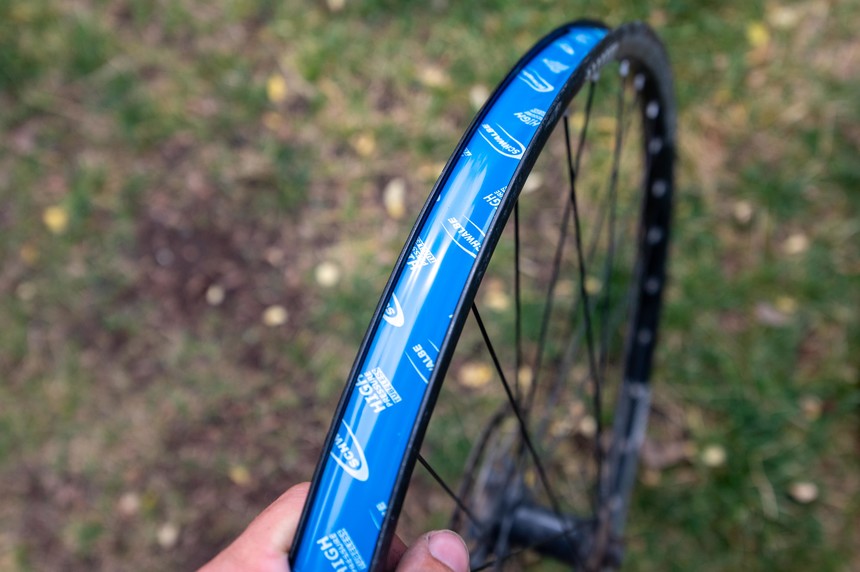 Rim tape should go edge to edge and be pulled nice and tight to settle cleanly into the rim bed. Max Ritter photo.
Orient The Tire – Make sure your tire is facing the right direction. Most tires have a little arrow printed on them that indicate the rotational direction, so line that up correctly. Remember that your brake rotors always go on your left if you are facing forward on the bike.
Mount One Bead – Pop one bead of the tire over the ream, and make sure it’s all seated into the middle of the rim bed. There’s usually a little indent in the rim bed, that’s there to allow the tire to stretch a little easier over the rim’s bead.
Mount The Other Bead – Once the first bead is seated, it’s time to pop the second one over. Don’t mount all of the second bead, instead get about two-thirds of the second bead mounted and leave a short bit unmounted.
Pour In The Sealant And Finish Mounting – Pour in your desired amount of tubeless sealant into the inside of the tire through the section you left unmounted, then turn the wheel 180 degrees to let the sealant flow down, and mount the final section of bead.
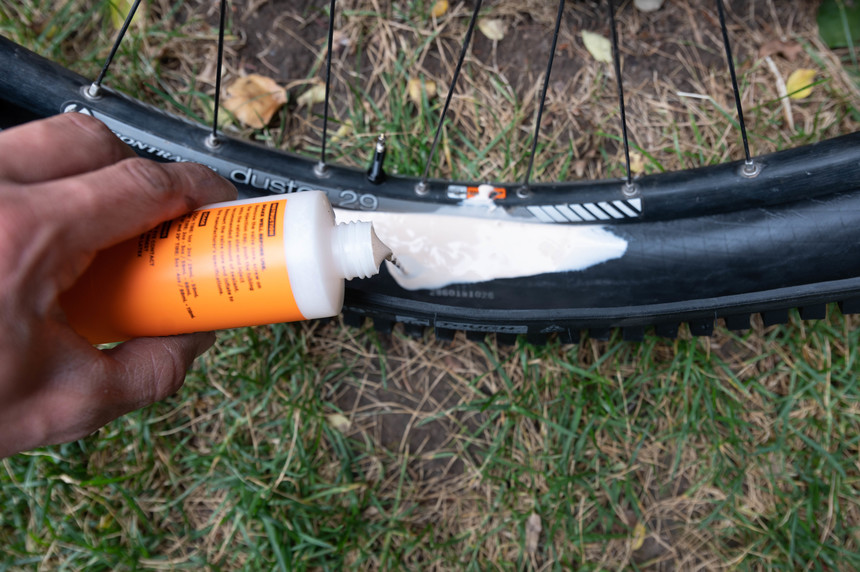 The amount of tubeless sealant you'll want depends on the size of your tire - 2 oz. is usually good for most mountain bike tires. Max Ritter photo.
Inflate – Inflate your tire to about 40psi, making sure the tire bead sets against the rim bead all around the wheel. This can take a little bit of work, and might cause sealant to spray out from under the tire, but with some finesse, this should be a quick job. Once inflated, bounce and spin the wheel for a few seconds to distribute sealant evenly.
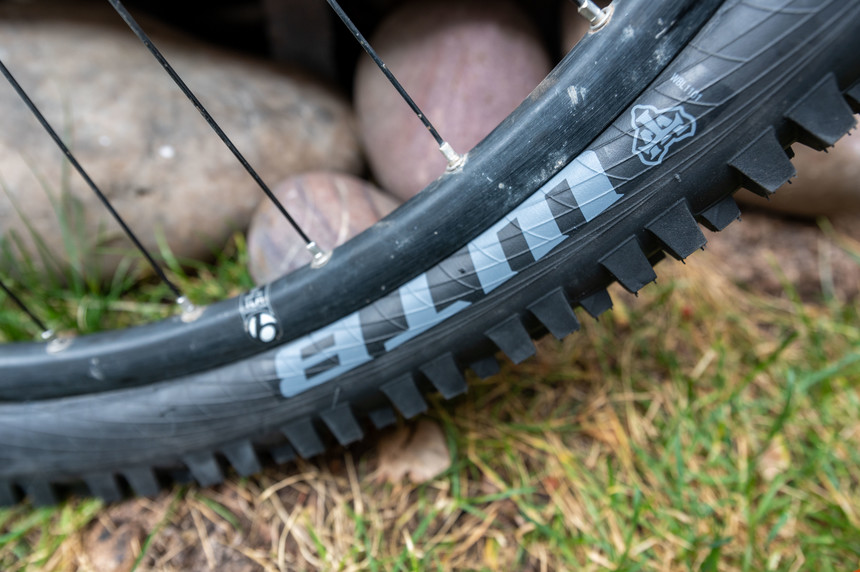 Check to see that your tire is properly seated, in this case the bead isn't fully seated right next to the tire logo. Max Ritter photo.
Method 2:
The second method is useful if you are using a tire that’s already been mounted or you are simply trying to top off sealant. It involves removing the valve core, so have that tool ready.
Orient the Tire – Make sure your tire is facing the right direction. Most tires have a little arrow printed on them that indicate the rotational direction, so line that up correctly. Remember that your brake rotors always go on your left if you are facing forward on the bike.
Mount The Beads – Pop one bead of the tire over the ream, and make sure it’s all seated into the middle of the rim bed. There’s usually a little indent in the rim bed, that’s there to allow the tire to stretch a little easier over the rim’s bead. Repeat to mount the second bead all the way around.
 Checking to see that the tire bead is inside the rim bed will make it easier to get both beads fully on the rim. Max Ritter photo.
Remove Valve Core – Using the valve core tool, remove the core of your tubeless valve. Be careful not to lose it, as you’ll need to reinsert it shortly.
 Don't lose that little guy! Max Ritter photo.
Squeeze in Tubeless Sealant – Using either a syringe or the hose from the sealant bottle, squeeze in your desired amount of tubeless sealant through the valve core. It might bubble back out of the valve, so be ready to wipe off any mess.
Reinsert Valve Core And Inflate – Reinsert the valve core using the tool, then inflate the tire to your desired pressure. Once inflated, bounce or spin the tire a few times to evenly distribute the sealant.
 Don't over-inflate your tires or this might happen!. Max Ritter photo.
From The Column: In the Garage

In the Garage: 2 Ways To Set Up Tubeless

In the Garage: How To Bleed Your MTB Brakes

In the Garage: Buying Used Bikes

In the Garage: How to Clean Your MTB

In The Garage: Inspecting A Bike After A Crash

In the Garage: What’s In Your Pack?

In the Garage: How to Adjust MTB Shifting

In the Garage: What’s the Deal With Tire…

In the Garage Ep. 2 – What’s In the Tool Box?

In the Garage Ep. 1 – Early Season MTB Checkup
About The Author
stash member Max Ritter
I manage digital content here at TGR, run our gear testing program, and am stoked to be living the dream in the Tetons.
carylouder007
October 23rd, 2020
Getting good ideas are making lots of readers for the page that are helping to get lots of ideas for the users and all these ideas are making many useful tips too.top elearning companies in india