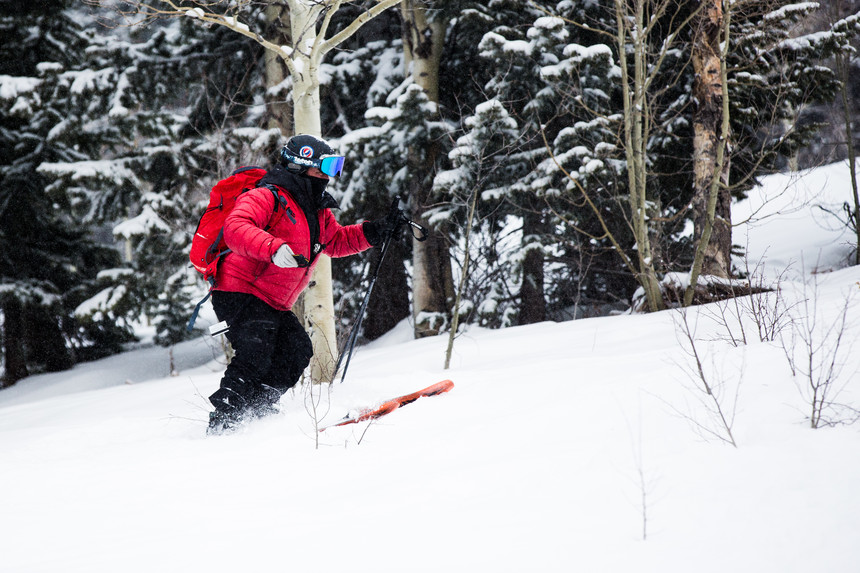
 Every winter you should be practicing with your beacon. Katie Lozancich photo.
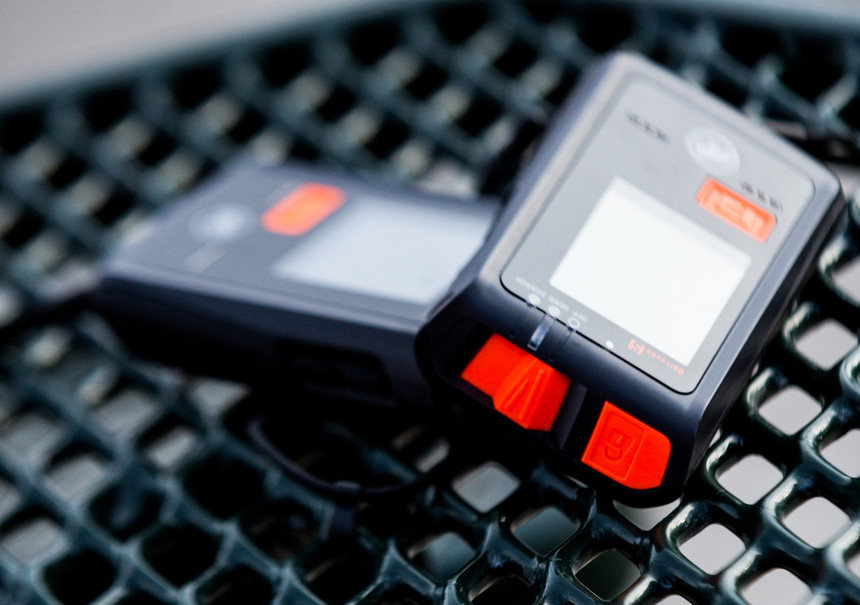
The most important aspect of beacon fundamentals is simple: practice. It's imperative to get to know your own beacon, its functions, and how to switch to search quickly. Practice search drills regularly throughout the season and repeat the process when you buy a new beacon. Here, we break down the search process into four phases with what we learned at this year’s IPRW while practicing with our Mammut Barryvox beacon:
1. Signal Acquisition:

Once you switch your beacon to search, it’s time to find a signal. Depending on the model of your beacon, you will start receiving a signal from 40-60 meters out. There are a variety of different search methods depending on the size of the avalanche and the number of searches, but guides recommend remembering one simple method: head towards the last known sighting and zig-zag across the avalanche path at 20-meter intervals until your beacon starts beeping, meaning it has acquired a signal.
2. Coarse Search:

You should be moving quickly through this phase in order to acquire a stronger signal. Head in the general direction of the stronger signal (lower distance), using the arrows as a guide.
3. Fine Search:
When your beacon registers a signal under 10 meters, slow down. Max Ritter photo.
When you hit under 10 meters, slow down. You should still be on skis or a snowboard, but if you rush this step, you might pass the victim before the beacon can register and catch up with your movement. Keep the arrow in the middle of the beacon while holding it in the same orientation. Follow the flux line to the victim.
4. Grid Search:

Once you receive your lowest reading, get your beacon as close to the snow as possible while keeping the orientation of the beacon the same. Using the grid method, find the lowest reading, mark the spot, and begin probing there.
Ready to upgrade your beacon? Be sure to check out Mammut’s line of beacons.
About The Author
stash member Katie Lozancich
TGR Staff Writer and photographer. Fond of bikes, pow, and dogs. Originally from Northern CA, home for me has ranged from the PNW to a teepee in Grand Teton National Park.